
As photographers, there is much that is out of our control; weather, wildlife, seasonal changes, road/ trail conditions, etc.
But one thing that we always have ultimate control over is our compositions. Just like a composer of music has the ability to manage the notes, tones, and rests of his/ her musical compositions, photographers have the responsibility of choosing what to include, what to leave out, and how the viewer will ultimately see and feel the final image.


Here are 10 major composition techniques that, if used properly, will make your photos drastically better, immediately.
1. THE RULE OF THIRDS
Imagine that your image is divided into 9 equal segments by 2 vertical and 2 horizontal lines. The rule of thirds says that you should position the most important elements in your scene along these lines, or at the points where they intersect.
Doing so will add balance and interest to your photo. Some cameras even offer an option to superimpose a rule of thirds grid over the LCD screen, making it even easier to use.

2. BALANCING ELEMENTS
Placing your main subject off-center, as with the rule of thirds, creates a more in- teresting photo, but it can leave a void in the scene which can make it feel empty. You should balance the “weight” of your subject by including another object of lesser importance to fill the space.


3. LEADING LINES
When we look at an image, our eye is naturally drawn along lines. Being thoughtful and intentional about how you place lines in your composition can dramatically affect the way the viewer sees the image. It can pull the viewer into the picture, towards the subject, or on a journey through the scene. There are many different types of leading lines – straight, diagonal, curvy, zigzag, radial etc – and each can be used to enhance our photo’s composition.

4. SYMETRY + PATTERNS
We are surrounded by symmetry and patterns, both natural and man-made. They can make for very eye-catching compositions, particularly in situations where they are not expected. Another great way to use them is to break the sym- metry or pattern in some way, introducing tension and a focal point to the scene.

5. VIEWPOINT/ PERSPECTIVE
Before photographing your subject, take time to think about from where you will shoot. Our viewpoint has a massive impact on the composition of our photo, and as a result it can greatly affect the message that the shot conveys. Rather than just shooting from eye level, consider photographing from high above, down at ground level, from the side, from the back, from a long way away, from very close up, and so on.

6. BACKGROUND
How many times have you taken what you thought would be a great shot, only to find that the final image lacks impact because the subject blends into a busy background? The human eye is excellent at distinguishing between different elements in a scene, whereas a camera has a tendency to flatten the foreground and background, and this can often ruin an otherwise great photo. Thankfully this problem is usually easy to overcome at the time of shooting – look around for a plain and unobtrusive background and compose your shot so that it doesn’t distract or detract from the subject. Silhouettes can be an incredibly valuable and striking way to do this well.

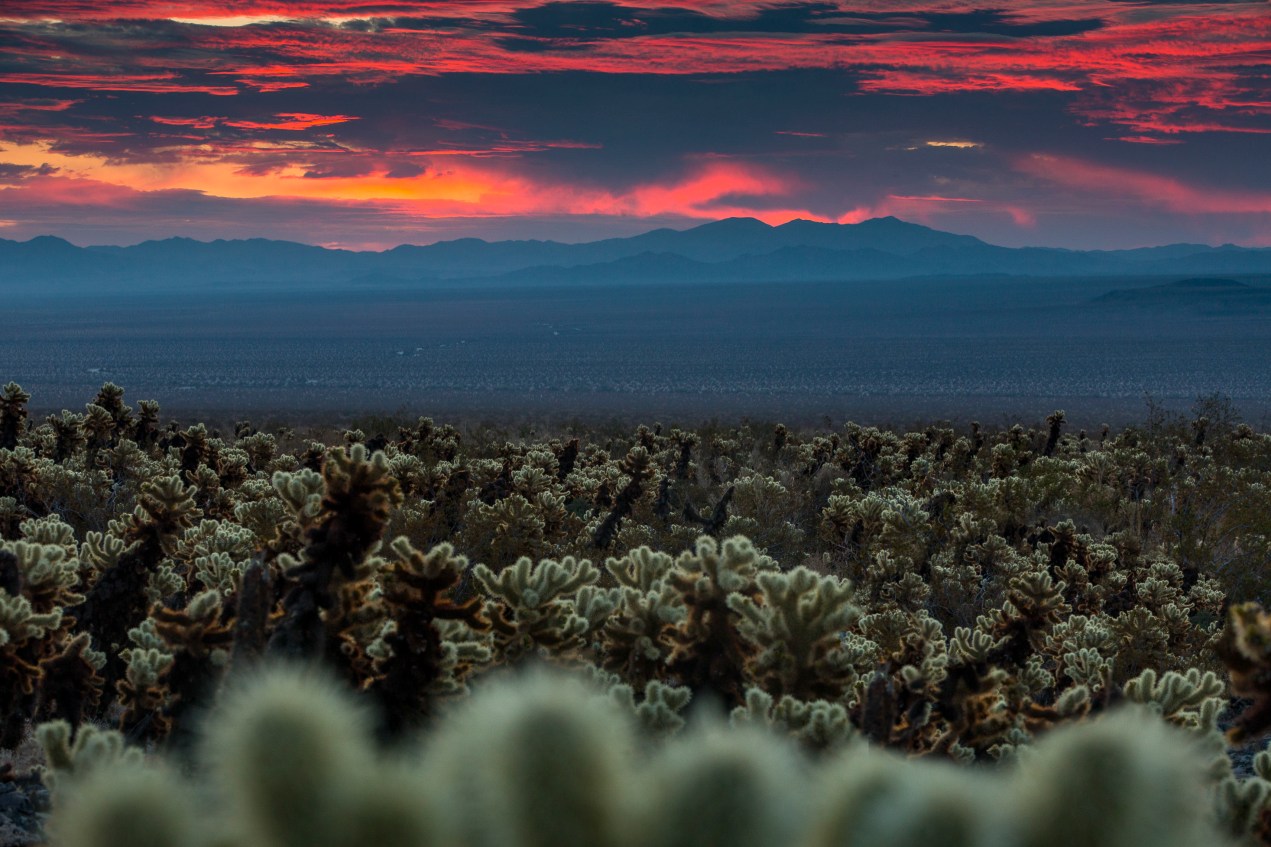
7. DEPTH
Because photography is a two-dimensional medium, we have to choose our composition carefully to conveys the sense of depth that was present in the actual scene. You can create depth in a photo by including objects in the foreground, middle ground and background. Another useful composition technique is overlapping, where you deliberately partially obscure one object with another. The human eye naturally recognizes these layers and mentally separates them out, creating an image with more depth.


8. FRAMING
The world is full of objects which make perfect natural frames, such as trees, archways and holes. By placing these around the edge of the composition you help to isolate the main subject from the outside world. The result is a more focused image which draws your eye naturally to the main point of interest.

9. CROPPING
Often a photo will lack impact because the main subject is so small it becomes lost among the clutter of its surroundings. By cropping tight around the subject you eliminate the background “noise”, ensuring the subject gets the viewer’s undivided attention.

10. EXPERIMENTATION
Composition in photography is far from a science, and as a result all of the “rules” above should be taken with a grain of salt. If they don’t work in your scene, ignore them; if you find a great composition that contradicts them, then go ahead and shoot it anyway. But they usually prove to be spot on, and are worth at least considering whenever you are out and about with your camera.


— Andrew
Ellen and I hit the road full-time in June of 2016. We are on a mission to inspire and educate everyone on the importance of getting outside. Check out my workshops and my prints, made #ontheroad in my mobile print studio. The revenue will help propel us further on this great adventure. Enrich yourself and others… and feel great about it too as you’re helping to ensure our public lands are cherished and to keep the wild spirit of the American Dream alive. Our goal is to visit all 59 National Parks in 3-5 years. LEARN MORE ABOUT WHAT WE’RE DOING HERE
Want to learn photography and enjoy a guided experience? Check out my exciting, NEW workshop dates: REMOTE WYOMING // ADVENTURE + LANDSCAPE TELLURIDE // FALL COLORS + LANDSCAPE I’m excited to announce my “The Photographic Guide to Our National Parks” series of eBooks: Rocky Mountain National Park Grand Teton National Park If you are interested in purchasing a “print from the road”, please check my prints for sale, or email me directly for a custom request: Andrew R. Slaton // prints from the road If you are interested in licensing any of the images/ video from this post, please visit my stock agency: Tandem Stills + Motion // Andrew R. Slaton For assignment work requests, please email me: andrew@andrewslatonphoto.com Thanks for visiting AndrewSlatonBlog.com! All images and content © ARS Media, LLC 2018

very helpful information. Going outside to try to get better pictures