“To achieve great things, two things are needed; a plan, and not quite enough time.”
Leonard Bernstein
Once I’ve made a decision on the destination, the real planning begins…
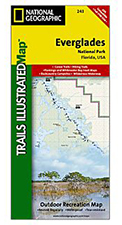
I chose my route to maximize productivity, making sure I touch all the spots along the way that can yield the images I need. Below is a visual example of the route I charted for my Everglades trip.
It’s important to note, however, that this initial route often changes and flexes as I move into the next phase of planning… research.

Research
The first three items it’s typical for me to purchase are: a good map (I like the Nat Geo Trails Illustrated maps), a Falcon trail guide, and lately (though it looks cheesy), I’ve found “The Photographer’s Guide To…” series to be very helpful. Though I do not use much of the photography advice in the last book, it has very specific location tips and times of day/ year information that can prove valuable to you,especially if it’s your first time in an area. Think of it as the “Dummies Guide” to a place specifically for photography.


Another great (and free) resource is the good ol’ internet. In this case, it was a no-brainer to go to the National Parks Service official website for the Everglades. I found it especially useful for answering many common questions. But it also linked me to informational videos and outside resources that began to change the course of my trip.
Despite the poor acting and shooting (sorry NPS, no offense), I was really impressed with the amount of information I could take in from these short webisodes created by the Park Rangers at the Everglades… http://www.youtube.com/user/EvergladesNPS. It provided me the info I needed to begin to plan in more detail. It also led me to decide to venture into the backcountry via canoe, which I hadn’t considered before.


All this research can lead you to several helpful conclusions in the planning phase: it will keep raising your excitement level (as if it could get any higher!), the information will better equip and prepare you for success on your trip, and it will begin in your mind’s eye the visualization process. By this, I mean, the concept of previsualization that Ansel Adams defined as “the ability to anticipate a finished image before making the exposure”. And to help myself along in the exercise of previsualization, creating a proper “shot list” is my next step after research. In general, Adams was referring to previsualizing a final image while in the field, with the elements of the shot right in front of you, but I strongly believe the creative process starts when planning.
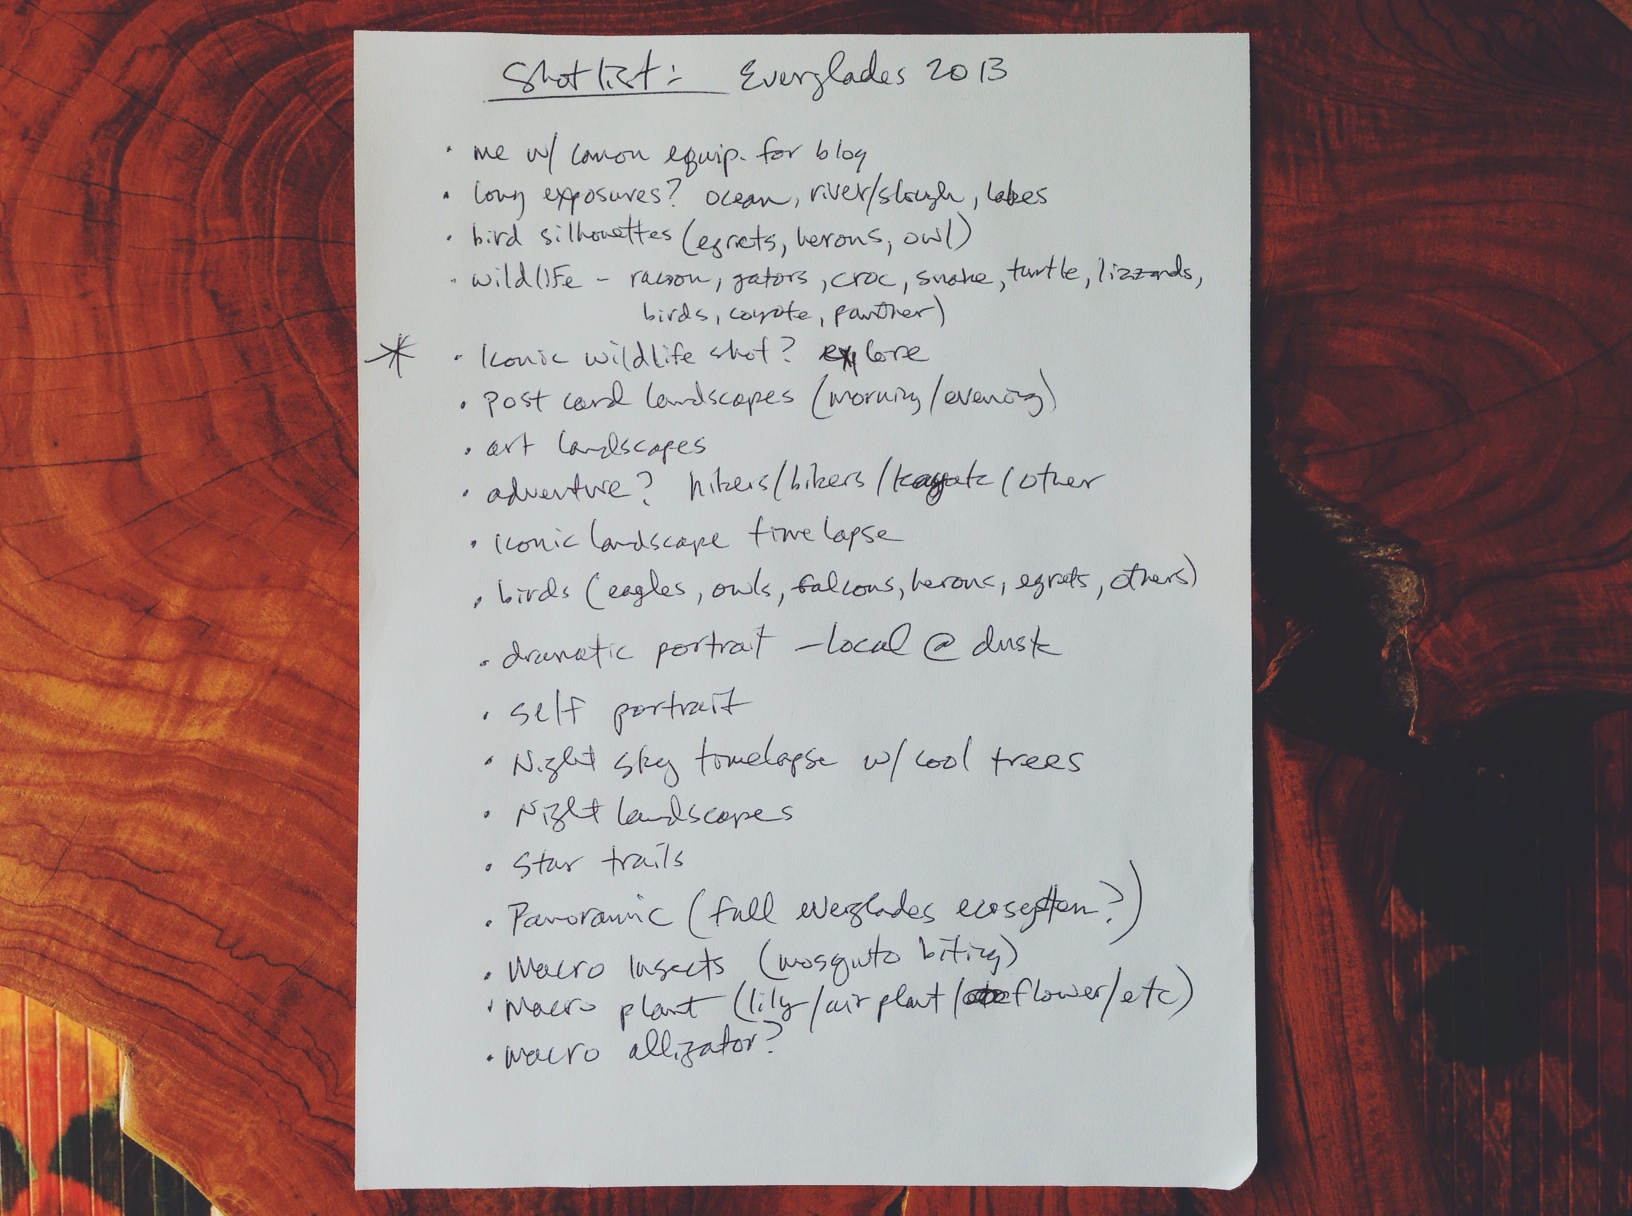
The Art of the Shot List
After all that reading and online researching, so many images will already be swirling around my head. The infinite possibilities of perfect images. Those creative juices are fantastic and often drive my plan, but we also need to be realistic. You cannot be omnipresent nor can you control the elements, so a certain degree of planning and preparation should be considered. As a fellow photographer/ blogger, Michael J. Flaherty stated recently, “Do not try to be strict about your plan. You either chase the light, adjusting meal times, losing sleep, etc. or you miss the light. It’s that simple.”
First things first; choose your locations, illustrations, and desired flora/ fauna.
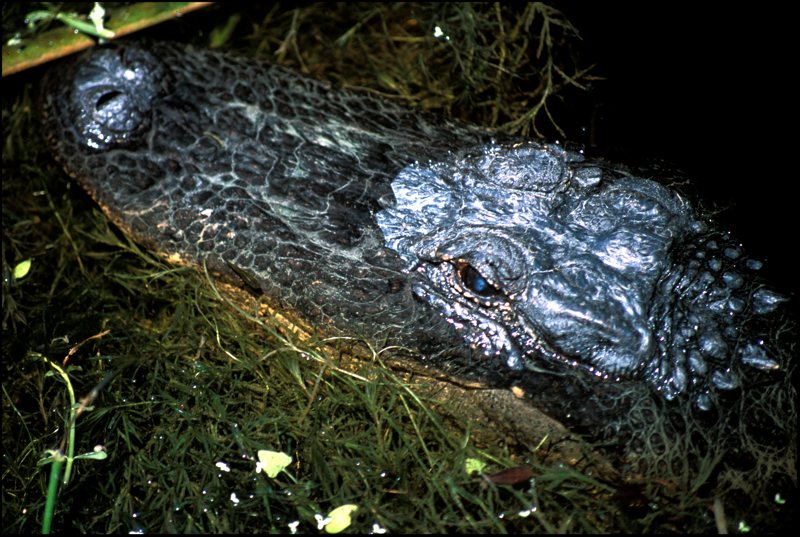
What do I mean by all of that? Well, since you’ve done your research, the books you’ve read and websites visited, you should have a great idea of what specific locations and important plants and animals you want to photograph. And by illustrations, I simply mean, what’s your creative vision? What images do you want to capture that might be outside of the normal realm of stock footage?
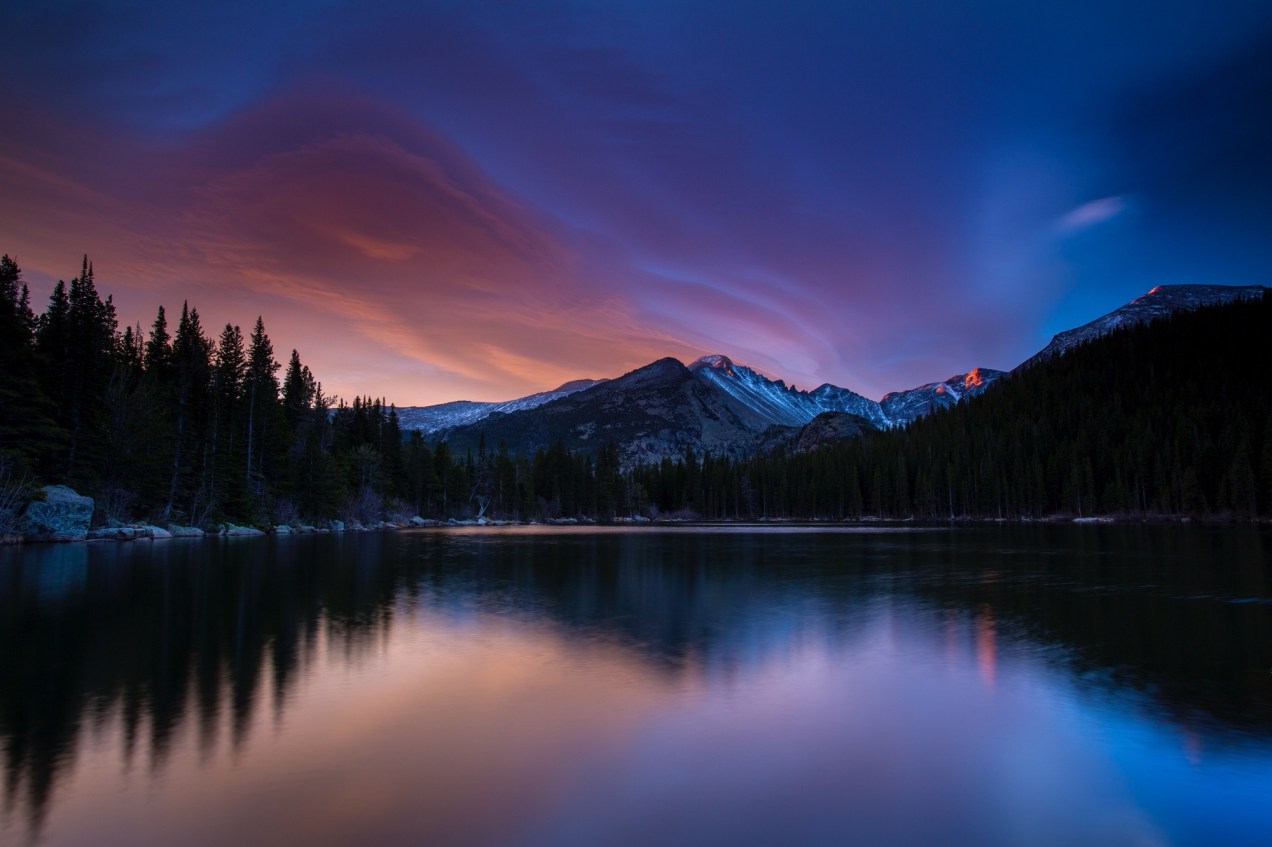
For example, I knew that I would be reviewing some gear on my RMNP trip, so I added a few self portraits using that gear in the field to my shot list. I also added “art landscapes” to the list. My style is more artistic typically than the traditional “postcard” images. So although my stock agency prefers the traditional images (because they sell consistently), I wanted to be sure to exercise my creativity too and be true to my style.
So all that to say, be thorough with your shot list. On that same trip, I added “iconic summer elk silhouette”. Kind of specific, huh? Well, I knew exactly what I wanted, and because of that, when the opportunity presented itself…. I was ready.

Don’t be afraid to set the bar high. Just be realistic with your expectations.
Your shot list will be somewhat general to start. But it will gather momentum and specificity as you go…

If I come away with 70% of the photographs on this shot list, I will be very happy.
The fact is, the more planning and research you do, the more prepared you’ll be. But just as the weather changes at a moment’s notice, so too will your well made plans.
–andrew
“Expect the best, plan for the worst, and prepare to be surprised.”
Denis Waitley
“You must plan to be spontaneous.”
David Hockney
__________________________________________________________________________________________________________________________________________________________________
If you are interested in learning more about photography, taking your art to a new level, and/ or Big Bend photography tours and workshops, please check out my new workshop dates:
Big Bend Photographic Tour/ Workshops 2013-2014
More Destination Photo Tours/ Workshops 2013-2014
If you are interested in licensing any of the images/ video from this post, please visit my stock agency:
Tandem Stills + Motion // andrew r. slaton
If you are interested in purchasing prints from this post, please check my prints for sale, or email me directly for a custom request:
andrew r. slaton // photographer // prints
For assignment work requests, please email me: andrew@andrewslatonphoto.com
Thanks for visiting AndrewSlatonBlog.com!
all images and content © andrew r. slaton | photographer 2013